Title: Install Oracle Client 19c 64-bit Using Windows Software Center
Service/Product: Software Licensing
Template if applicable: NA
Assignment Group(s): OIT_DESKTOP_SUPPORT
Document Owner: Samson Teshome
Available Priorities: Medium, Low
Keywords: Oracle, Oracle Client, Self Service, data source,
Steps for installing the Oracle 19c client:
To open the Software Center program, search for it on your device by typing "software" in the search box and selecting the Software Center option. The Search box will be in or near your Windows start menu.
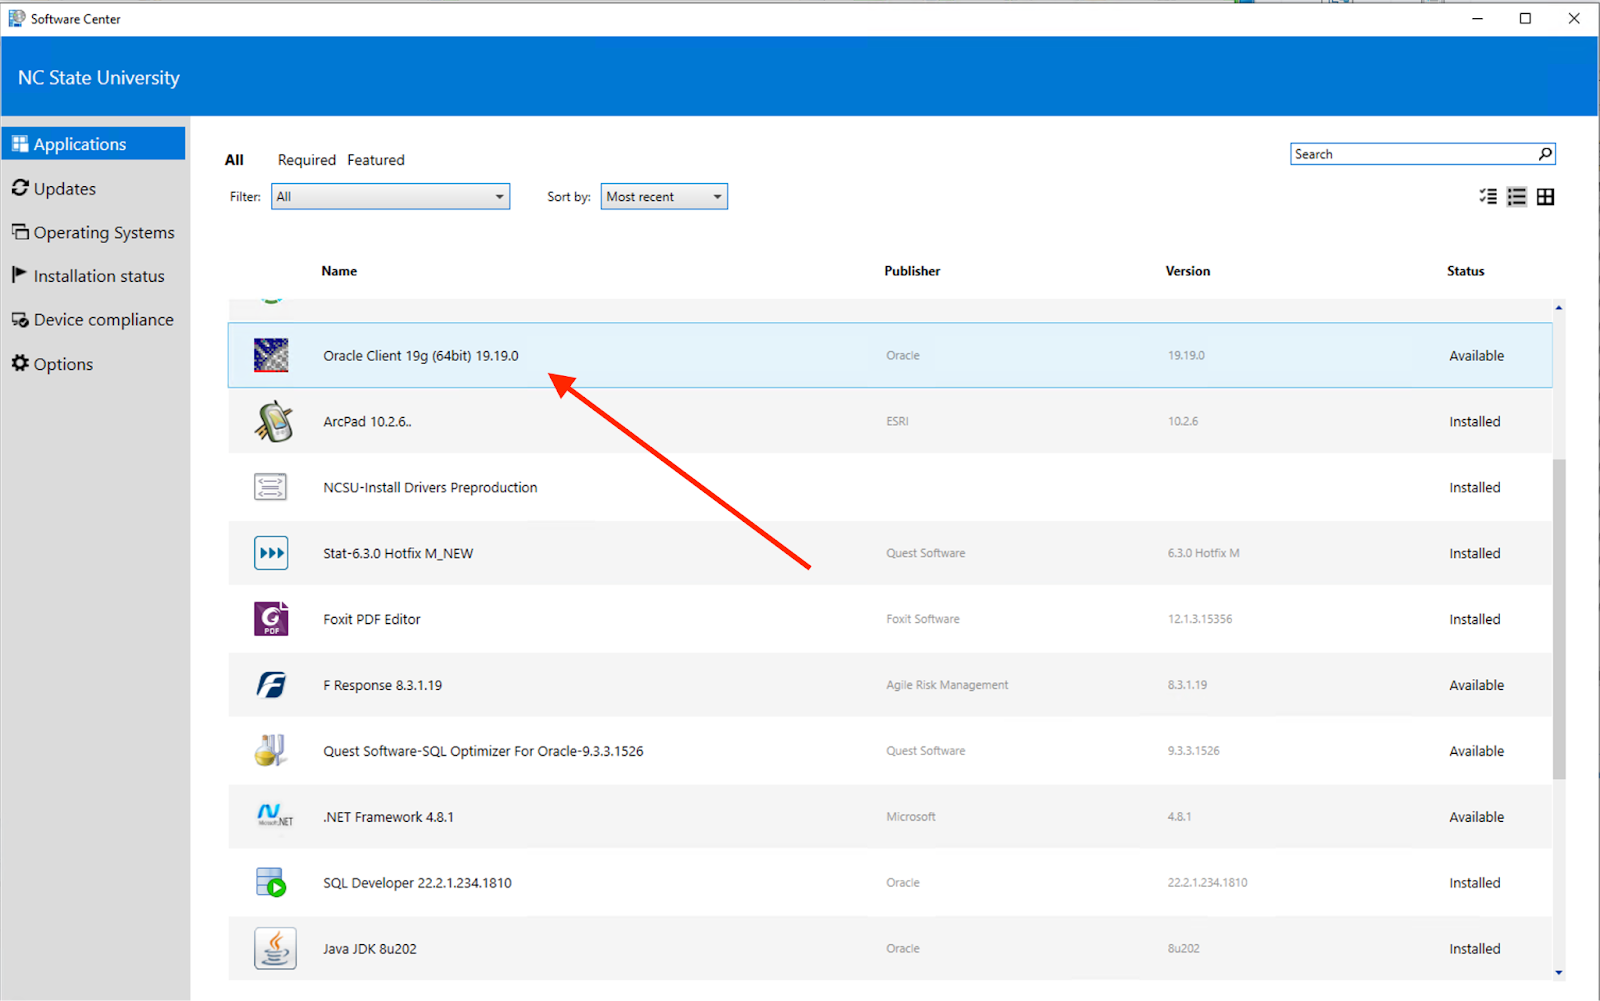
After opening the Software Center, you can find the "Applications" tab and navigate to it.

Under the Applications tab, double-click “Oracle Client 19c (64bit) 19.19.0.”
And then click “Install.”

Once the installation process of the "Oracle Client 19c (64bit) 19.19.0" is complete, you should see the word "Uninstalled" displayed under the status of the installation in the Software Center.

Once the installation is complete, a reboot is necessary to finalize the installation process.