This article will give step by step instructions on how to print a document using the FWH plotter printers. Before printing, please ensure that one of the dimensions of your document is 36 inches or less.
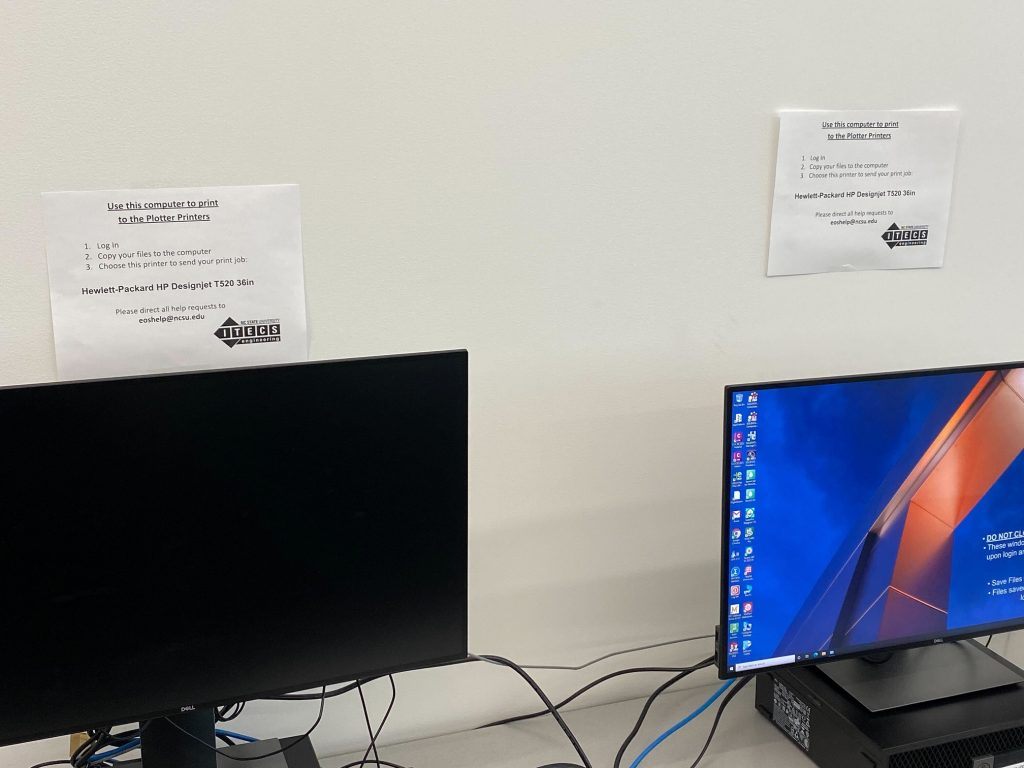
1. Locate the connected computers
The plotter printers on the back wall (labeled ITECS-PLT-001 and ITECS-PLT-002) are both only accessible from these two computers in the FWH EOS Lab. You can use Google Drive, a USB flash drive, or a number of other methods (such as self-emailing) to transfer the file to one of these two machines. They’ll be denoted by signs on the wall.
2. Prepare the file
Open the file to be printed in Adobe Acrobat. You’ll need to sign in with an Adobe account - if you do not have one, create it using your NCSU email. Once you are signed in, in the toolbar, click on File and then select the Print option from the menu.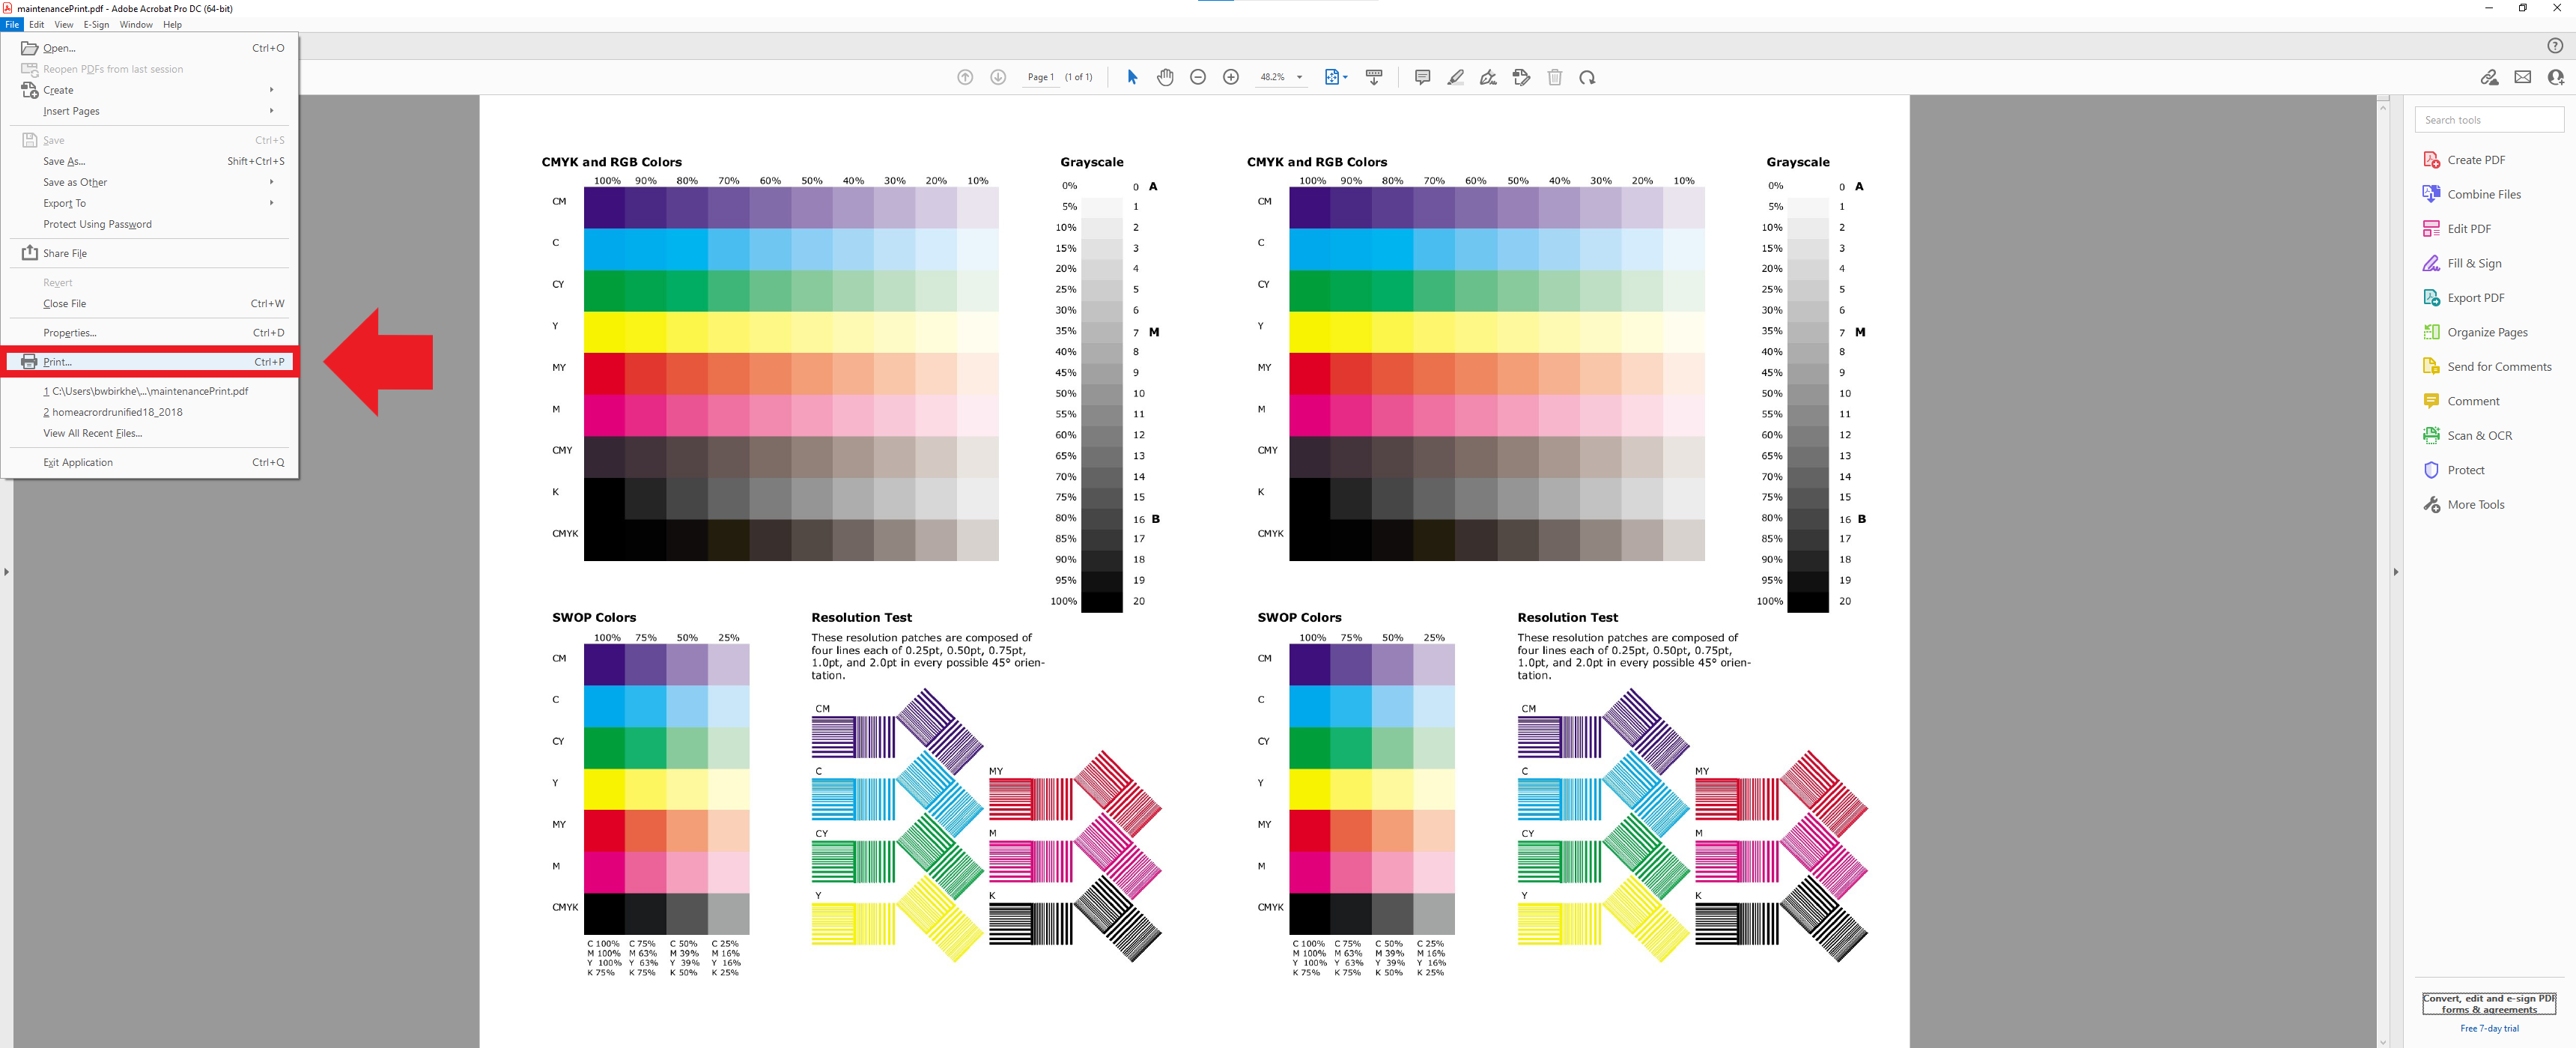
3. Select the printer
Once in the print dialog, the default printer may not be the plotter printer. Click on the dropdown menu to change printers. Be sure to select the printer named ITECS-PLT-001, or ITECS-PLT-002.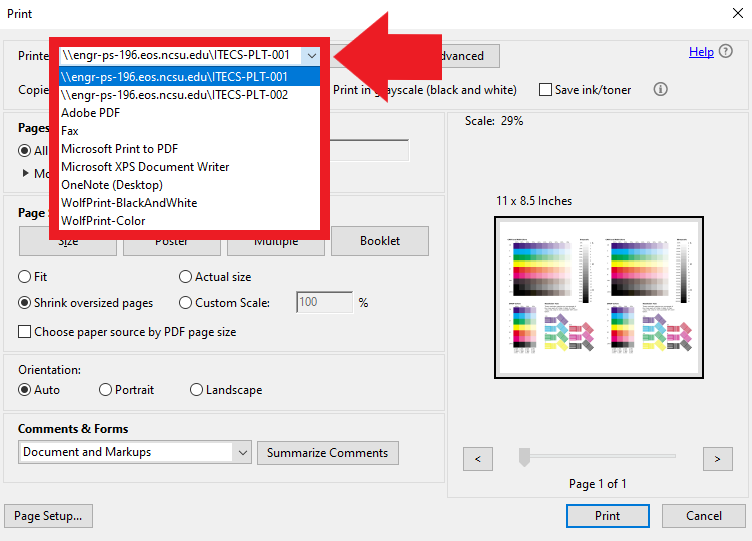
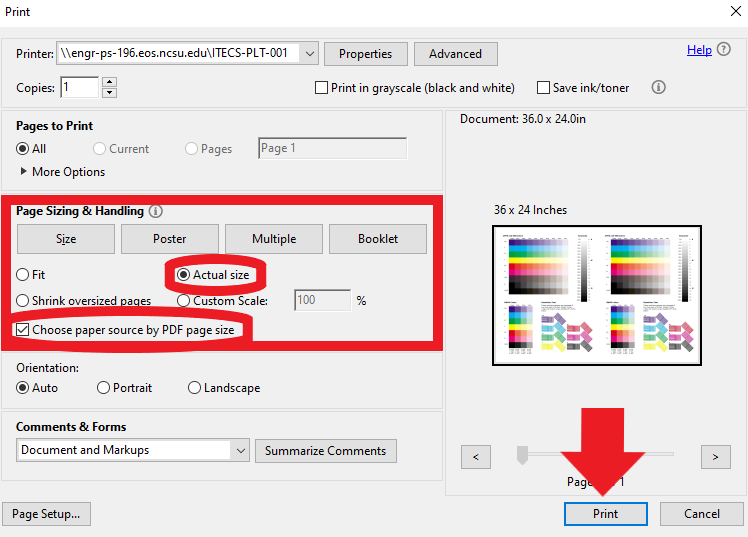
4. Set the size
Under Page Sizing & Handling, select “Actual size” and check the box next to “Choose paper source by PDF page size.” Click on the OK or Print button to submit the document to the print queue.